Stop Wasting Time on Low-Quality Graphics: The Real Value of a Professional Social Media Web Banner Template
In the fast-paced world of digital marketing, your visual identity is often the first handshake you offer to a potential client. Yet, too many entrepreneurs and creators stumble right out of the gate by relying on pixelated images or generic tools that limit their brand's potential. This is where a high-quality Social Media Web Banner Template becomes not just a convenience, but a strategic asset. When you invest in a professional design foundation, specifically one built for precision like a 300 DPI resolution file in EPS format, you are securing the clarity and professionalism your business deserves. However, simply downloading a file isn't enough; understanding how to leverage these assets correctly is what separates amateur posts from campaign-winning visuals.
Many beginners make the critical error of assuming all templates are created equal. They might grab a free JPEG from a search engine, only to find that when they try to resize it for an Instagram post or a Facebook ad, the image turns into a blurry mess. This happens because raster images lose quality when scaled, whereas a vector-based template, such as those created in Adobe Illustrator, maintains crisp lines regardless of size. If you are aiming for a standard 1080×1080 Pixel square post, starting with a scalable source file ensures that every edge remains sharp on high-definition mobile screens. Ignoring this technical distinction can severely damage your brand's perceived value, making your business look unpolished before you've even shared your message.
The Trap of Ignoring File Formats and Resolution
One of the most common misunderstandings involves file formats. You will often see templates advertised with various extensions, but for serious design work, the EPS file is king. An EPS (Encapsulated PostScript) file allows you to edit individual elements without degrading the image quality. A frequent mistake is trying to edit a flattened PNG or JPG in complex software. When you do this, you cannot change the text, swap out shapes, or adjust colors without creating awkward artifacts around the edges.
Furthermore, resolution matters immensely, even for digital-only content. While screen displays typically run at 72 DPI, designing at 300 DPI provides a safety net. It ensures that if you ever decide to print your social media graphics for a flyer, a business card, or a trade show banner, the quality is already there. Downscaling from 300 DPI to web standards is easy and preserves quality; upscaling from 72 DPI to print is impossible without pixelation. By choosing a template designed with high-resolution output in mind, you future-proof your marketing materials and avoid the cost of redesigning everything later.
Customization Pitfalls and How to Avoid Them
Having a Quick and easy to customize template is fantastic, but ease of use can sometimes lead to complacency. A major pitfall is failing to utilize the layers properly within Adobe Illustrator. Professional templates come with organized layers for background, graphics, text, and effects. Beginners often unlock everything and move things haphazardly, breaking the alignment and balance the original designer intended.
Another significant oversight involves typography. Many templates note that they use Free Fonts, which is a huge benefit for budget-conscious users. However, a common error is neglecting to download and install these specific fonts before opening the file. When Illustrator cannot find the font, it substitutes a default system font, completely ruining the aesthetic of the design. Always check the "Read Me" file included with your download. Install the fonts first, then open the project. This simple step saves hours of frustration trying to match a font style manually.
Additionally, consider the color mode. These templates typically come in RGB Color Mode, which is perfect for screens. Mistakenly converting these to CMYK (used for printing) without adjusting the color profiles can result in dull, washed-out colors on your social media feeds. Stick to RGB for digital banners to ensure your blues look vibrant and your reds pop, capturing attention as users scroll through their feeds.
Maximizing Efficiency with Smart Design Choices
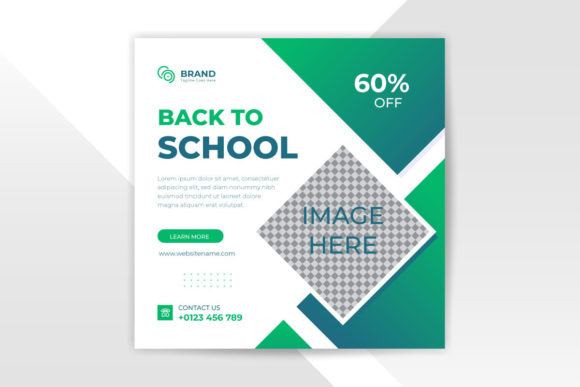
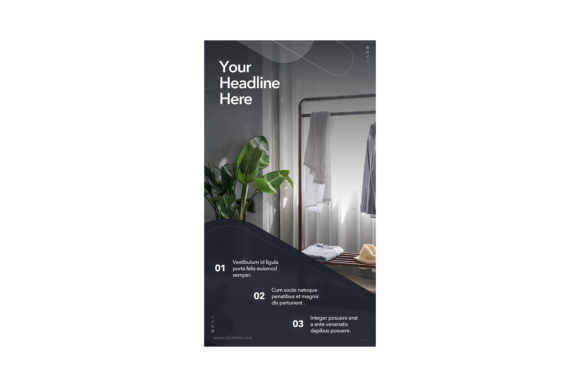
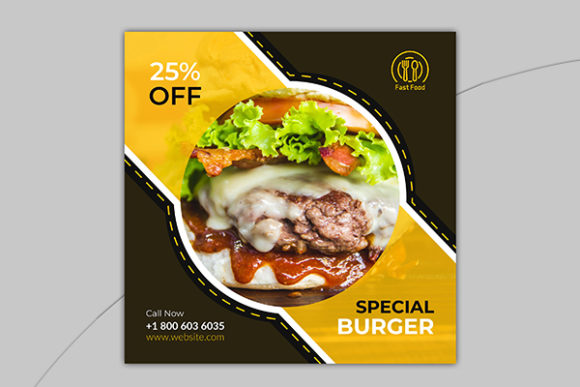
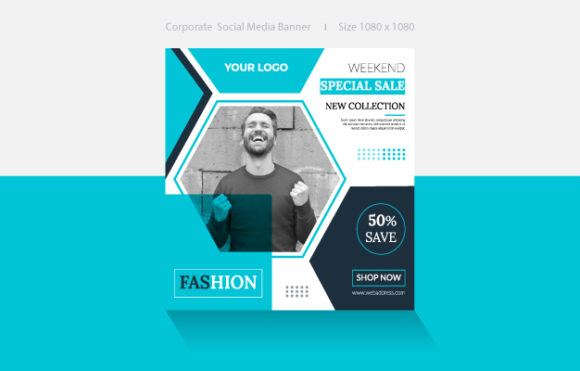
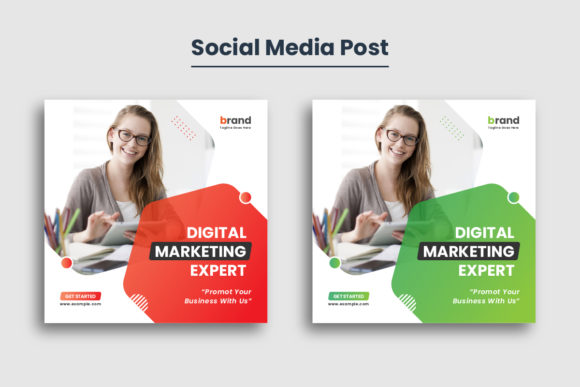
When evaluating a Digital business marketing social media post web banner, look beyond the preview image. Ask yourself: Is the layout flexible? Can I swap the placeholder images easily? Remember, the note "Images are not included" is standard, meaning you need to source your own photography or illustrations. A good template will have clipping masks set up so you can drag and drop your product photos directly into the designated frames. If a template requires you to manually trace paths to insert images, it is not truly "easy to customize," and you should look for a better option.
Efficiency also comes from consistency. Using a single template structure across multiple posts helps build brand recognition. Instead of reinventing the wheel for every announcement, sale, or quote, you maintain a cohesive look. This consistency signals reliability to your audience. However, avoid the trap of using the exact same layout for months without variation. Use the template as a skeleton; change the color accents, rearrange the text hierarchy, or rotate the graphical elements to keep the content fresh while maintaining your brand identity.
Checklist Before You Download or Buy
Before you commit to a specific design resource, run through this mental checklist to ensure it meets your operational needs:
- Software Compatibility: Verify that the file works with your version of Adobe Illustrator. While many files are backward compatible, ensuring you have at least the recommended version (e.g., Illustrator 2018 CC) prevents feature errors.
- Dimension Accuracy: Confirm the canvas size matches your target platform. A 1080×1080 Pixel size is ideal for Instagram and Facebook squares, but ensure the artboard is set correctly so you aren't cropping vital info upon export.
- Font Licensing: Double-check that the free fonts included are licensed for commercial use if you are using them for a business. Most are, but it pays to be certain to avoid legal headaches down the line.
- Organization: Look for previews that show organized layer panels. A messy file structure indicates a messy editing experience.
Ultimately, the goal of using a professional template is to elevate your communication, not complicate it. By avoiding the traps of low-resolution files, ignoring font requirements, and mismanaging layers, you position yourself for success. Whether you are a freelancer pitching to a new client, a small business owner launching a product, or a blogger sharing insights, the quality of your visuals speaks volumes. Invest the time to choose the right Social Media Web Banner Template, respect the technical specifications, and customize with intention. Your audience will notice the difference, and your engagement metrics will reflect the professional polish you've applied to your brand.